
Use course Settings to control metadata, topic entry, and tutor behavior. You need editing access to the course.
Select Settings to see the available sections. Open a section, then use the selector at the top to switch sections.
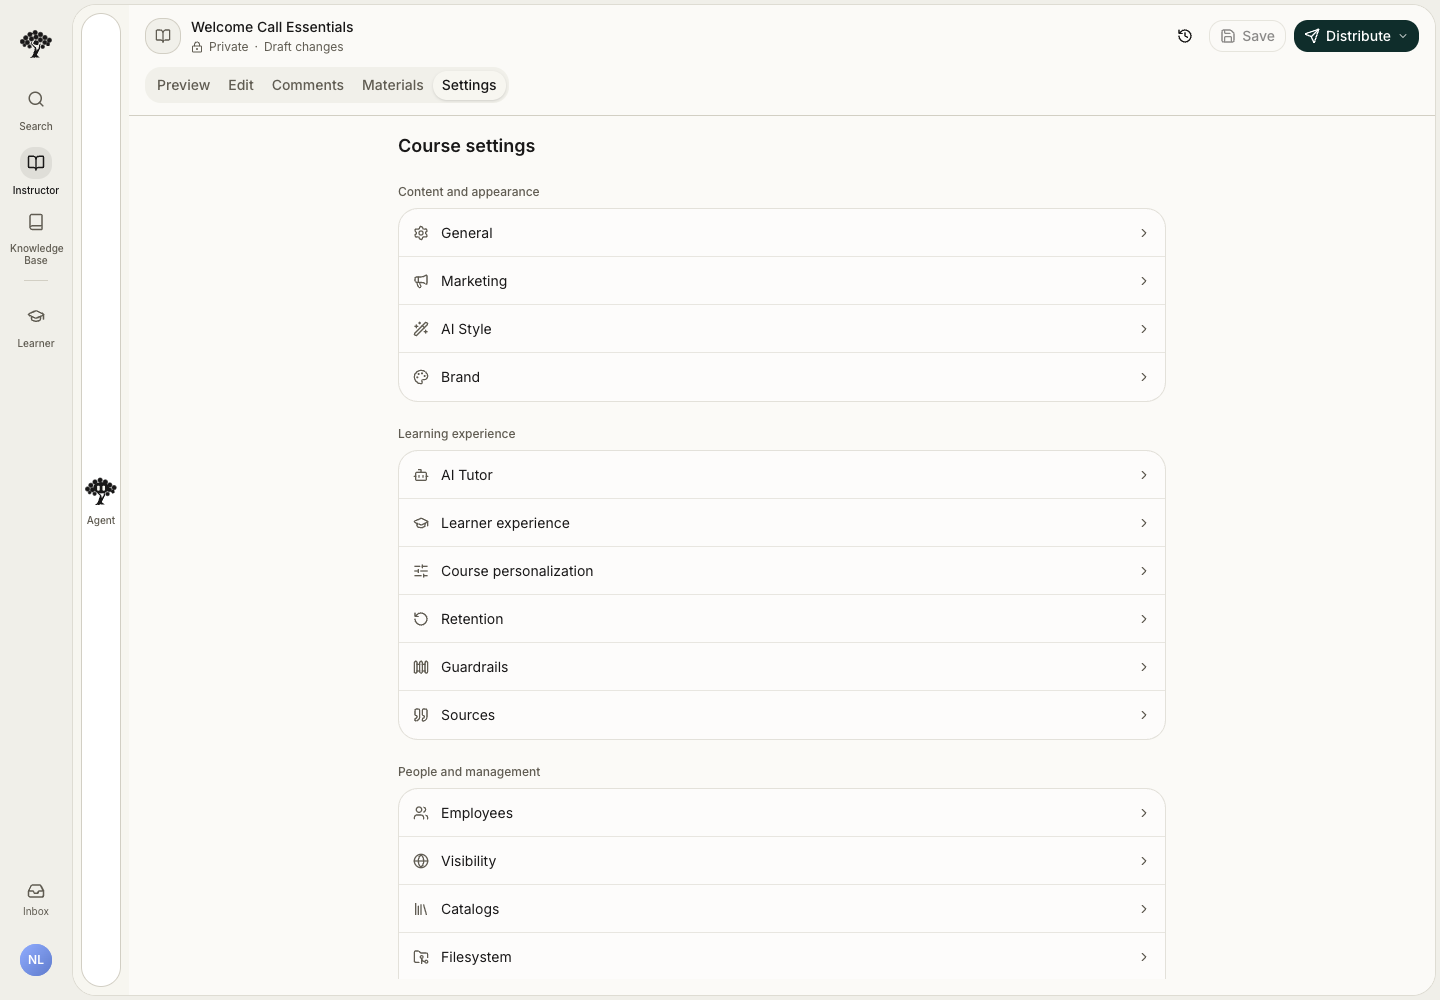
1. Check basic information
- Open the course editor and select Settings.
- Select General.
- Select the course name to edit it. Press Enter to finish editing, or Escape to cancel.
- Review Description and Content type.
- Select Save in the course header to save your changes.
- Select the course image to open its dialog. Choose Upload image, or enter a description and select Generate.
- Wait for the image dialog to close after saving. Uploads accept PNG, JPEG, or WebP files up to 4 MB.
- If using a reusable format, inspect Course template beneath the basic fields.
The lesson outline contains units and activities. Change the course image in Settings → General. Use Distribute → Apply changes to learners when your saved draft is ready.
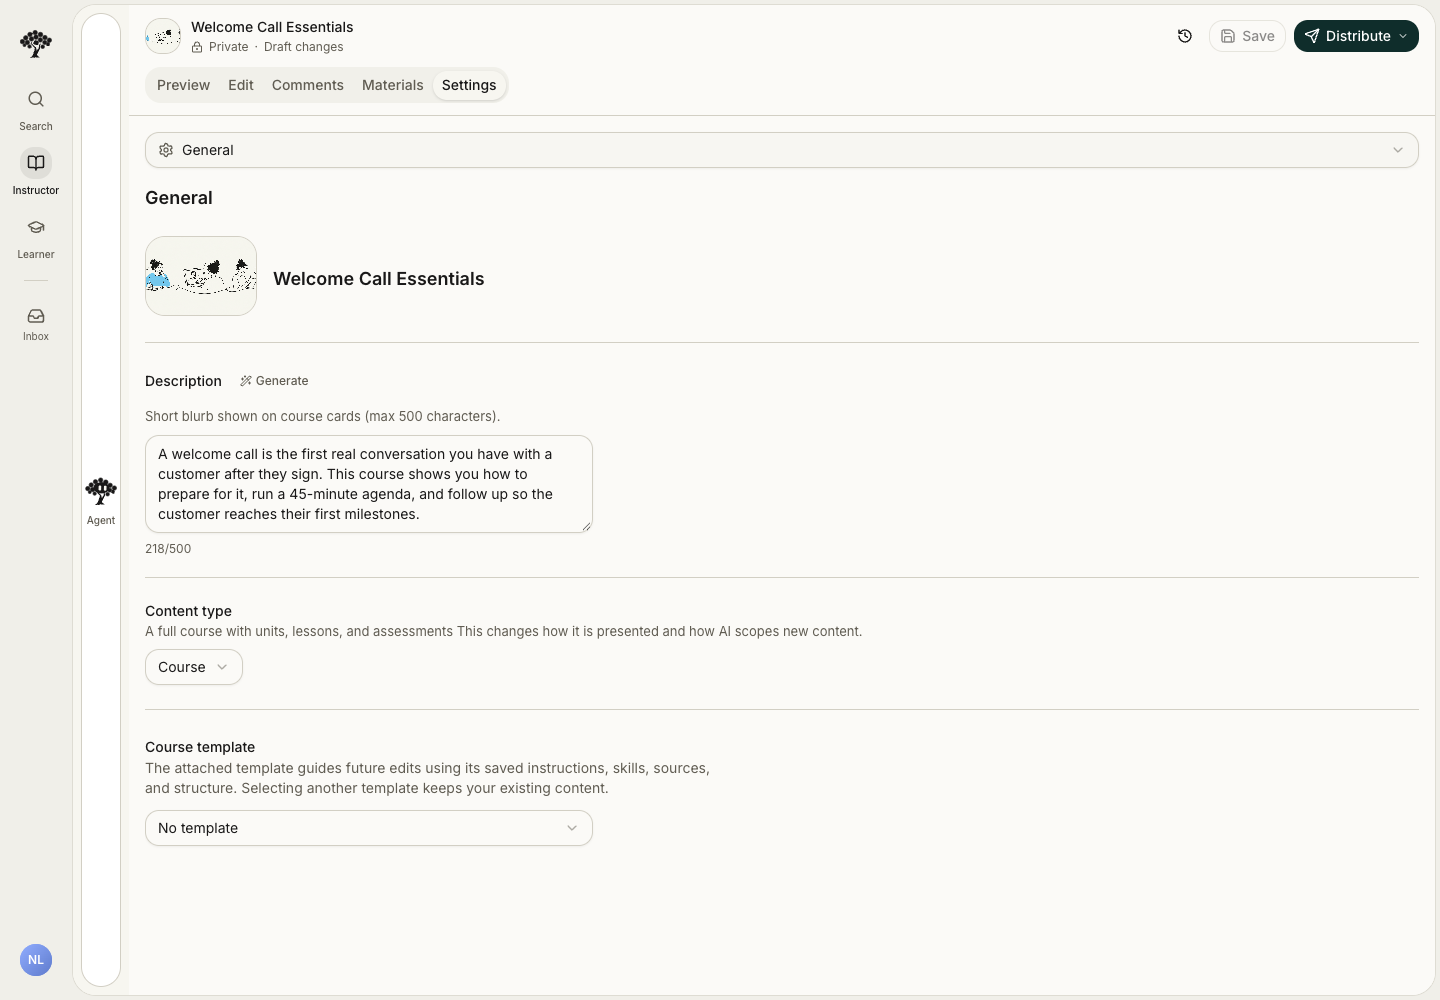
The short description appears on course cards and has a character limit. Changing the content type updates presentation and how AI scopes new content. Use the editor to revise existing activities.
2. Choose how a topic opens
- Select Learner experience.
- Choose Topic start screen to show goals and the activity picker, or Inline intro banner to start on an activity with a compact introduction.
- Choose Start learners on for the default activity used when a topic has one activity or when resuming from a direct link.
- Inspect the preview and save your changes.
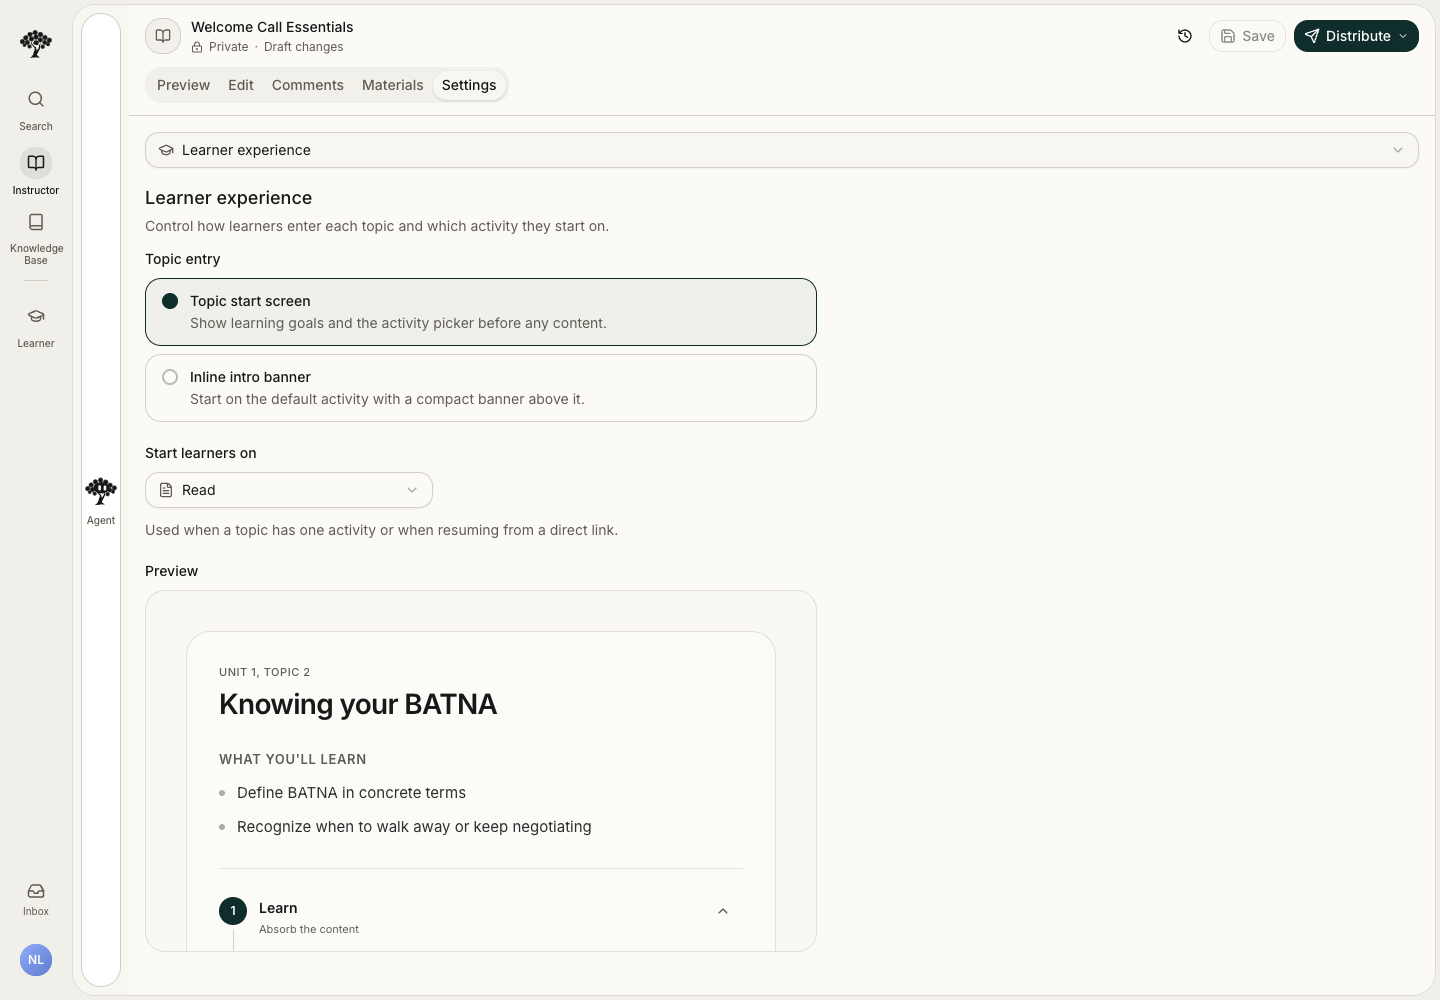
The settings panel's preview is a built-in example. Check your actual course with View as Learner too.
3. Review tutor behavior
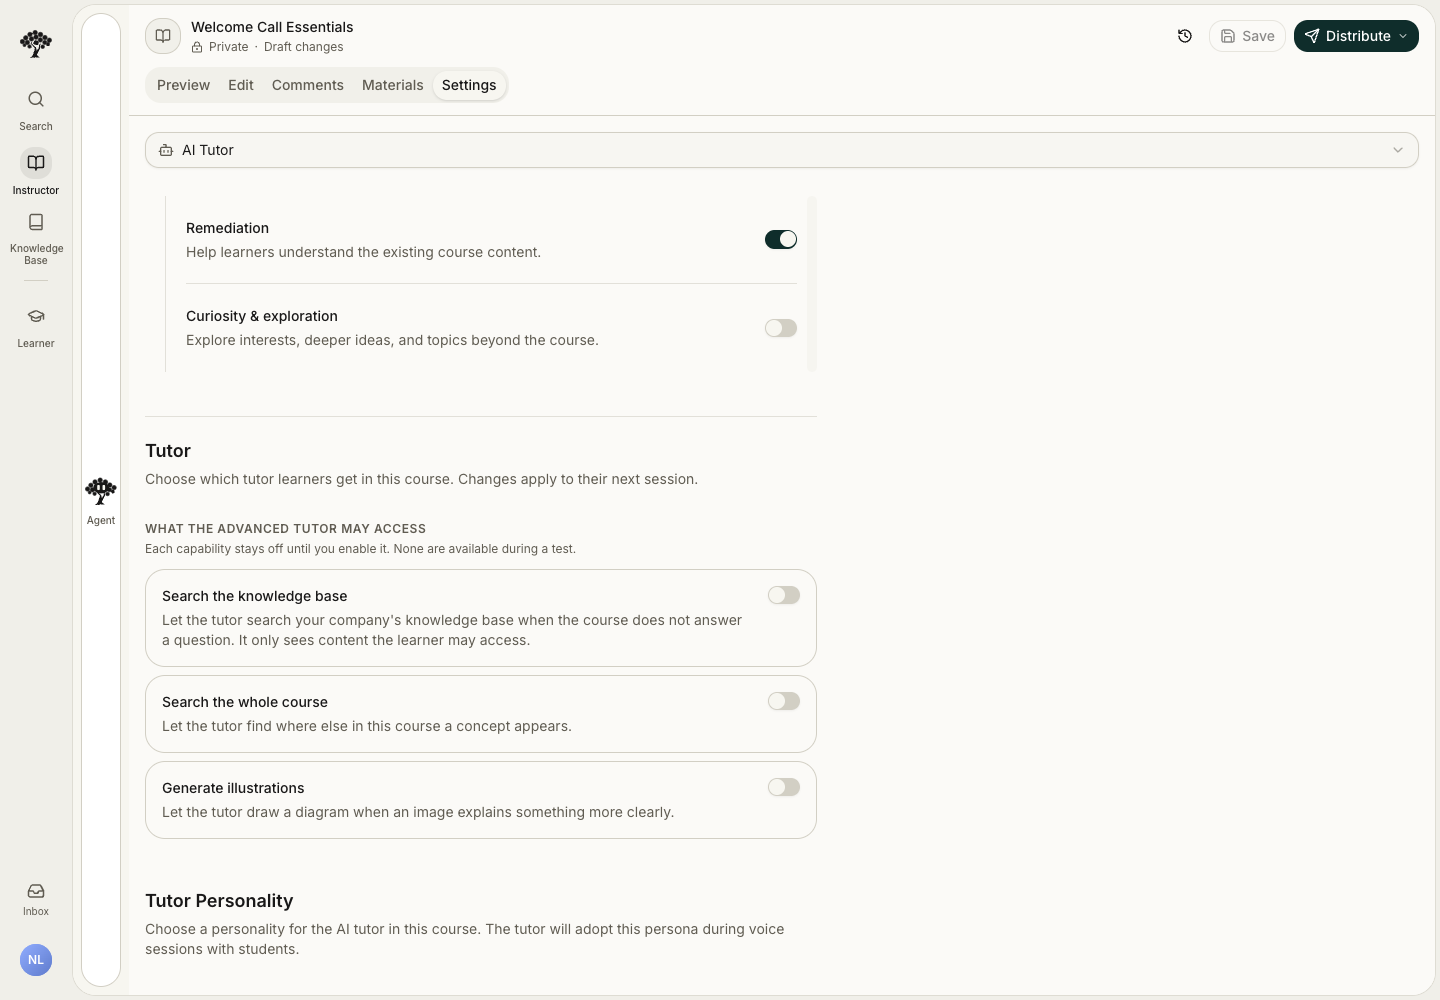
- Select AI Tutor under Learning experience.
- Review Proactive Tutor and the intervention switches. Proactive tutoring is on by default unless explicitly disabled.
- Scroll to Tutor.
- Review Search the knowledge base, Search the whole course, and Generate illustrations.
- Review Tutor Personality below the capability controls.
- Select Save in the course header.
- Apply the reviewed draft with Distribute → Apply changes to learners.
The tutor opens in text chat. Learners can type immediately or select Start Voice Call when they want voice.
Knowledge Base search is constrained by the learner's access. Course Guardrails are configured separately. Use Tutor guardrails to set the coaching boundaries that apply across courses.
4. Open Advanced settings
Select Advanced for course cloning and deletion controls. Delete Course appears here for the course owner. It is no longer a separate navigation item.
Ask the Workspace Assistant
You can request settings changes while the course stays open beside the conversation. For example:
Use the topic start screen for this course. Enable tutor search across this course. Leave the other settings unchanged.
The assistant can change general settings, tutor capabilities, guardrails, branding, and the attached course template. Workspace brand requirements still apply. Content changes remain in the draft until you apply them.
You can also ask the assistant to add or remove a course editor. Give the person's name or email address. The assistant checks your permission and instructor capacity before it changes access.
Review the resulting settings. Apply the reviewed draft when ready, then test text chat and any enabled capabilities.
Manage course editors
Course owners can manage their editors. Workspace admins also have Manage course editors by default. You can grant this permission through a custom workspace role.
- Open Courses and content.
- Add yourself as an editor for the course you need to change.
- Open the course and select Settings → People to manage its editors.
Adding yourself gives you editing access. It does not transfer ownership or publish the course. Other instructors and learners do not receive this permission automatically.
Tips for your next step
Check the tutor after changing its capabilities. Use the course's publishing workflow when releasing changes to the learning content.