
Give generated illustrations, lecture slides, and interactive artifacts a consistent visual identity. Workspace Brand brings together your palette, logo, reference images, design instructions, and reusable icons.
A workspace administrator manages Brand in Organization → Brand.
You can also select Add your brand under Workspace setup on the Honen Agent home page. The assistant opens Brand beside the conversation and asks about your existing sources and preferences. It can extract a brand from your website or supplied guidelines, save colors, design instructions, style, and existing workspace assets, and generate previews. Assistant extraction and edits save directly; new file selection uses the upload picker. Enforcement remains a separate choice. Check the saved result before you use it for course generation.
1. Choose a starting point
Choose one of three options:
- From your website: enter the website address and select Continue to extract its visual style.
- Upload brand guidelines: select a PDF, PNG, JPG, WebP, Markdown, or text file. PDF guidelines can be up to 5 GB. Keep the page open until uploading finishes; document processing can then continue in the background.
- From scratch: select Start designing and enter your own brand details.
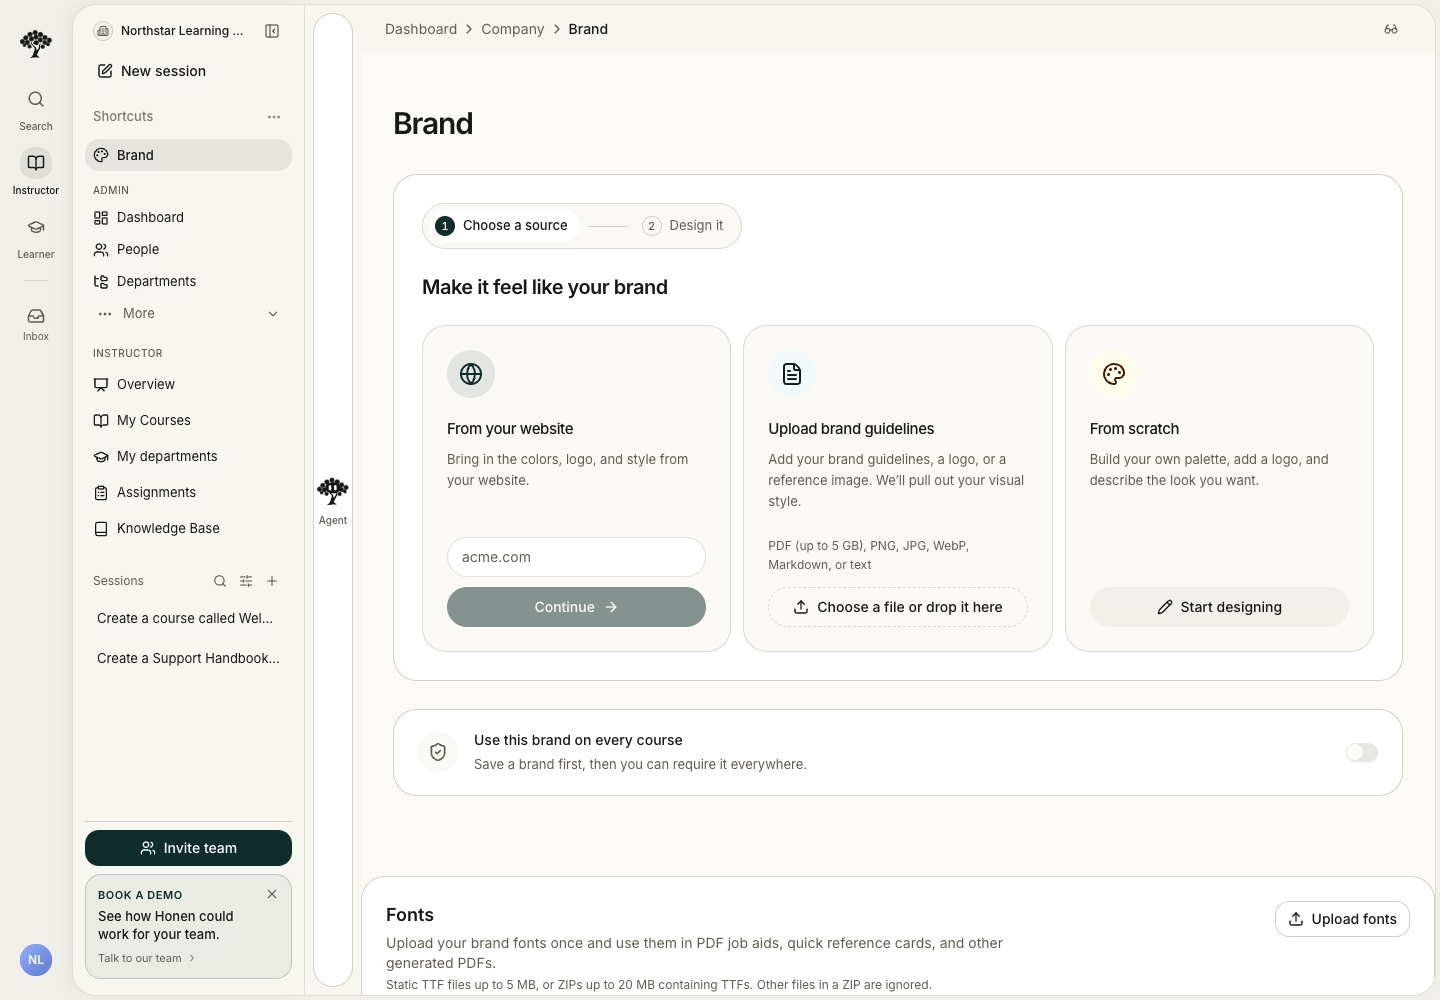
When using these page controls, all three paths lead to an editable draft so you can review the result before saving. Assistant actions save directly and update the page when your manual edits are protected.
2. Define the visual style
- Enter Brand name.
- Add a Logo, or use Replace to change an existing one.
- Set Primary, Accent, Background, and Text colors with the color picker or hex fields. Leave a color unset to use its default.
- Turn on Use my brand style when your guidelines and references should define generated images and lecture slides.
- Write Design instructions covering layout, typography, icon style, and how reference images should be used.
- Add up to six Reference images in PNG, JPEG, or WebP format, up to 2 MB each.
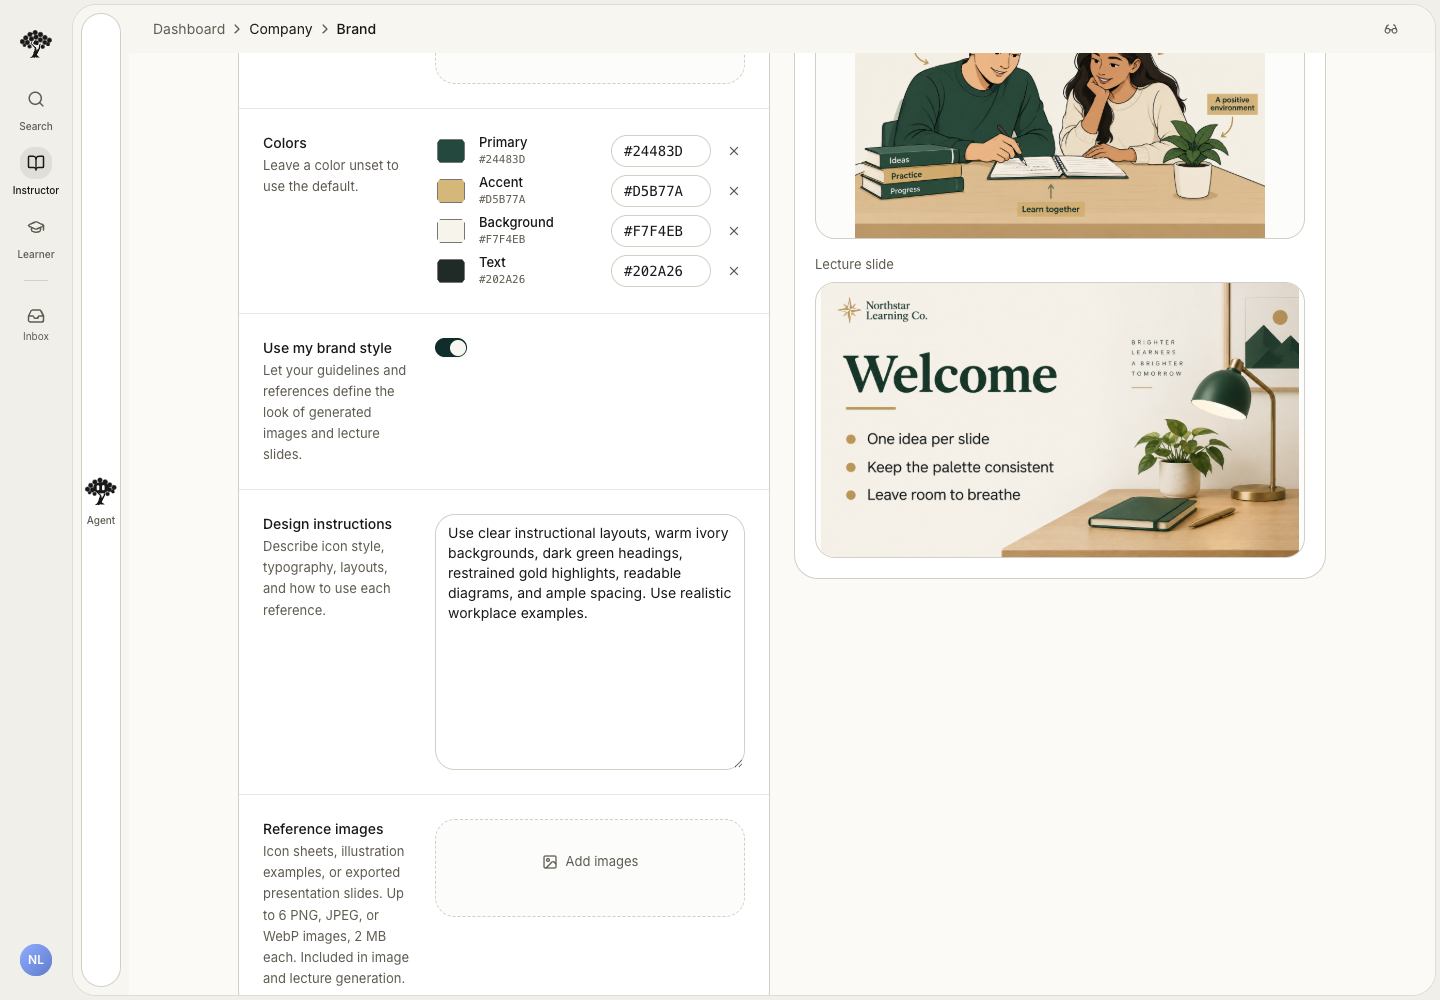
Use specific instructions such as “forest green headings, warm ivory backgrounds, small gold highlights, and generous spacing.” Explain what each reference contributes: illustration style, a slide layout, or an icon treatment.
3. Preview and save
- Select Generate preview.
- Review both Reading illustration and Lecture slide.
- Adjust the draft if needed and select Regenerate.
- Select Save brand to keep the reviewed settings and previews.
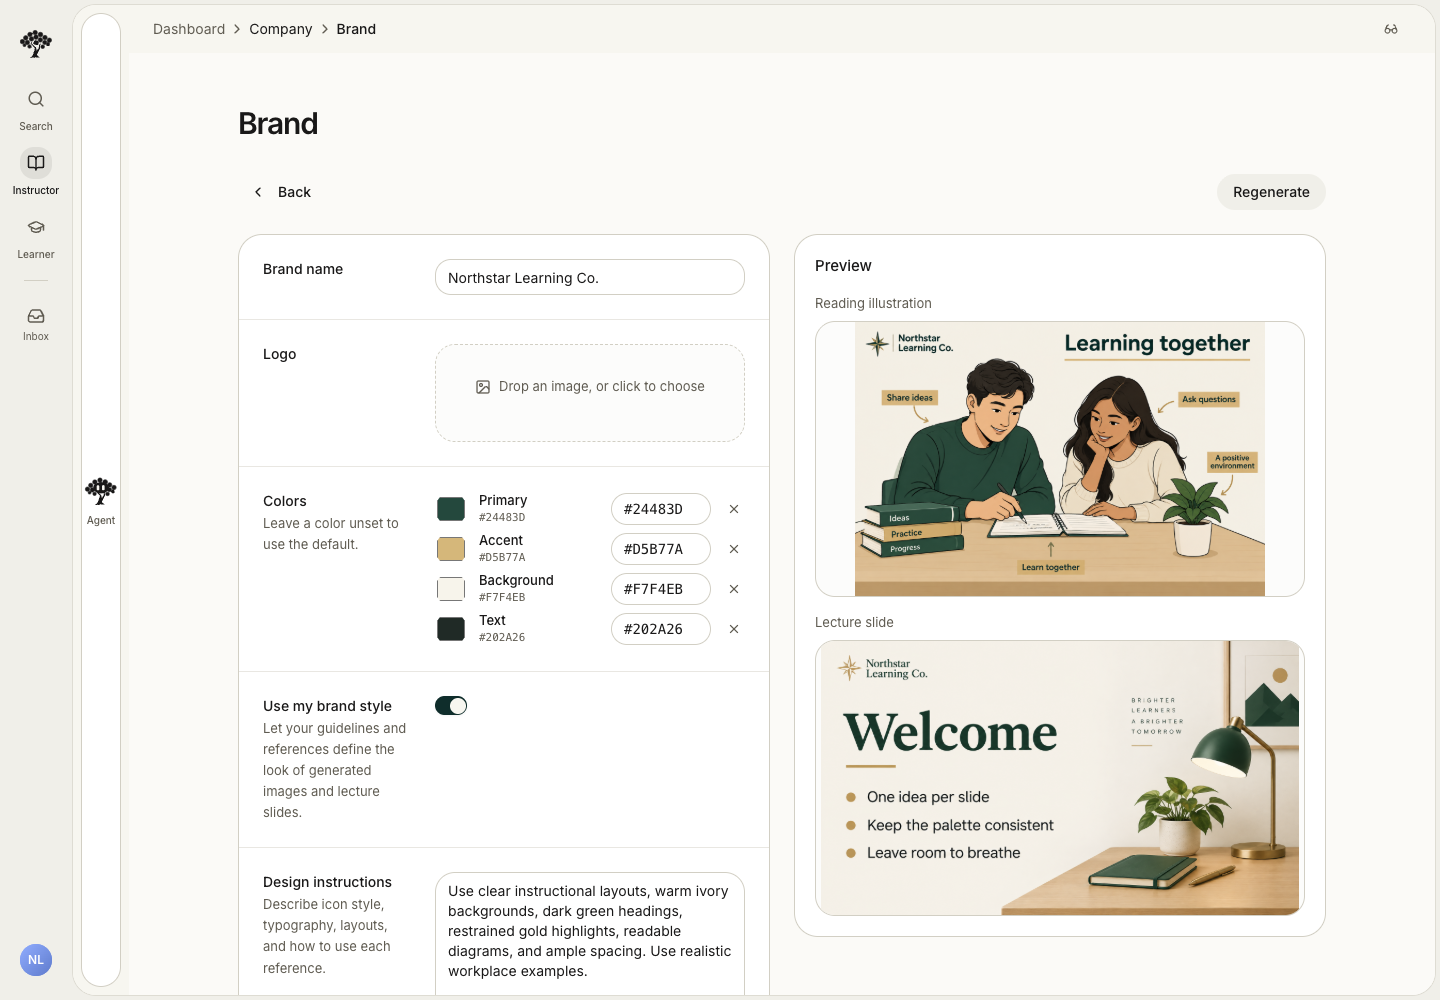
When settings change after a preview was generated, regenerate to see the revised appearance before saving. Brand settings guide future generation; update existing course visuals through their editing controls when you want them to adopt the new style.
4. Add reusable artifact icons
- Find Artifact icons on the Brand page.
- Select Add icons to upload PNG, JPEG, WebP, or SVG files. Each icon can be up to 2 MB; the library supports up to 512 icons.
- Give each icon a meaningful name so generated HTML artifacts can use it for the right concept.
- For a collection, select Import ZIP or CSV. ZIP archives can contain icons in folders. CSV files use
name,urlcolumns with public HTTPS image links; Example CSV shows the format. Import files can be up to 4 MB. - Use the search and Preview surface controls to check icons on light or dark backgrounds.
- Select Save brand to retain the imported icons.
Add fonts for generated PDFs
- On the Brand page, find Fonts.
- Select Upload fonts and choose static TTF files or a ZIP containing TTF files.
- Keep each TTF within 5 MB and each ZIP within 20 MB.
- Choose defaults for Headings, Body text, and Monospace.
- Wait for Brand fonts saved, then check the font previews.
Font changes save automatically and apply to newly generated PDFs, including job aids and quick reference cards. The library supports 64 font variants, with a combined size of 32 MB. These uploads do not change the dashboard or course interface font.
Set the Video Studio brand
- On the Brand page, find Video Studio.
- Choose Typeface, Caption treatment, Motion rhythm, and Logo placement.
- Set Graphic safe area and Graphic entrance.
- Select the components available under Approved motion library.
- Select Save video brand and wait for Saved.
Under Assets & motion, use Upload assets for approved artwork, animation, footage, or sound. The upload limit is 50 MB. ZIP uploads are supported. Open an asset to set What it looks like, How to use it, placement, and size. Select Required in every video only for assets that every generated video must use. Select Save asset. Review a new course video before wider use.
You can also ask the Workspace Assistant to change saved font defaults or Video Studio settings. Name the exact setting, then check its saved value on the Brand page. New local files still use the upload picker.
5. Require the workspace Brand
After saving a brand, turn on Use this brand on every course when authors should use the organization's identity across courses. Members cannot set a different brand on their own courses while this is required.
With enforcement off, course-level brand settings remain available. The workspace's generated-media Brand and a Site's logo, theme, and layout have different purposes; configure your academy appearance in the Site editor.
Related: Templates, Create and edit media, Governance.
Workspace appearance and email
In Workspace Settings → Whitelabel, set the workspace logo and enable the workspace theme. The theme applies to dashboard and course controls on the workspace domain. It also sets the surfaces of the navigation rail, the navigation panel, the assistant panel, and the page content. It sets the highlight for the selected item and for the item under the pointer. These highlights use a light layer of the theme's text color. The primary color does not tint them. Training Activity bars use the theme's primary color. Weekend bars use a lighter version of that color. Success and error colors keep their status meanings. Activity colors, such as the colors of course format icons, also do not change with the theme.
Workspace emails use the enabled theme's light colors, fonts, and corner style. This includes the background, content surface, text, and action buttons. Email apps can substitute a fallback font when the selected font is unavailable. An active primary workspace domain supplies the email links. Previously delivered emails do not change when you update the theme.